|
Imaging -
Imaging
|
We all know the situation - a picture looks unusable due to extreme
contrasts with either blown out highlights or many deep dark shadows
... or both.
There's a technique that may help to rescue such pictures: contrast
masking. Contrast masking isn't exactly new - it has been a well-known
technique with film for decades - it got much easier with with imaging
application such as Adobe Photoshop or
The Gimp (freeware). Besides some filters the imaging application
should support layers as a pre-requisite.
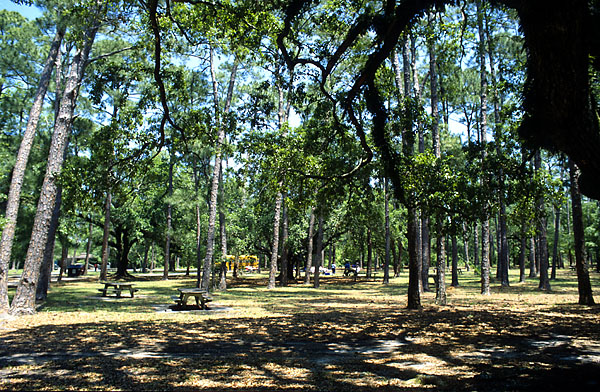
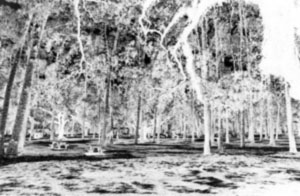
Ok, enough of the babbling.Here's a quite extreme sample picture which
has obviously plenty of
potential for corrections ....
The workflow for contrast masking is as follows:
- make a copy of the original image
- remove all colors
- inverse the image (= B&W negative)
- Gaussian blurr the step 3 image - this is your contrast mask
- overlay the mask onto the original (as a layer - layer 1 =
original, layer 2 = mask)
- change the opacity of the mask layer down to a "sufficient"
degree -
20% may be a good start here
- adjust the levels of the resulting image to recover deep black
and bright white
- done
You may wonder about step 4 here. Why should you blurr the "shadow"
image ? Well, try it. Without blurring you'll notice that the image
will be rather soft. By blurring the negative the details of the
original image are retained.
Sounds complicated ? It isn't -it really isn't.
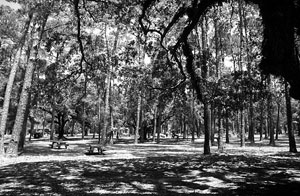
Here's the transition of the contrast mask during the workflow ...
|

|
|
B&W
(step 2)
|
B&W
Negative (step 3)
|
final mask
(step 4) |
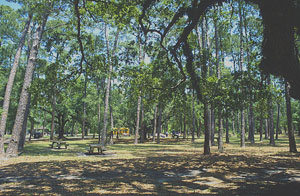
Let's apply the contrast mask to the original image now ...
|
|
original
image overlayed by 20%
with the contrast mask (step 5 + 6)
|
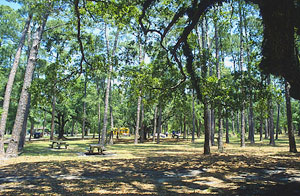
final
result
after levelling (step 7)
|
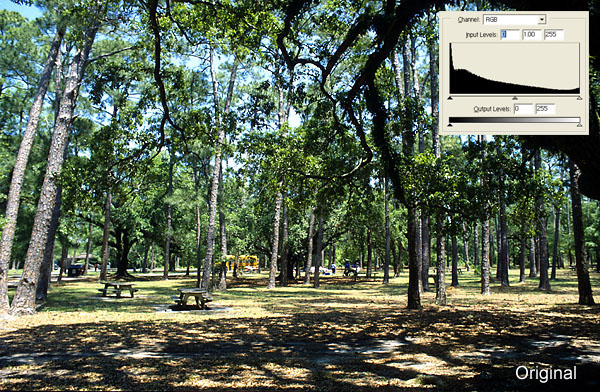
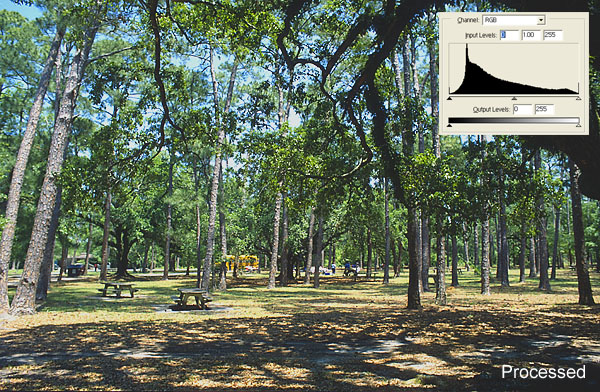
Let's compare the original image with the processed one ...
You will notice the improvement immediately - the shadows are much less
pronounced and the sky is a bit darker now. Nonetheless the processed
image still contains deep black as well as bright white. The difference
is also obvious in the histograms - the processed image shows a
smoothed fading towards the extreme ends of the histogram and the
primary data has been shifted towards more healthy mid-tones (to some
degree).
|